
GIT part 2: Get TortoiseGIT working on Windows
After you setup a GIT repository on a central server (See GIT Article 1), you will probably want a GUI client you can easily use for day to day operations. This article will show how to get TortoiseGIT up and running on a windows workstation. I picked TortoiseGIT since I come from a Subversion background where I used TortoiseSVN on a regular basis.
Notes:
- TortoiseGIT
- Homepage [code.google.com]
- Pre requisites page [code.google.com]
- GIT
- GIT Homepage [git-scm.com]
- msysgit [code.google.com]
- Important: msysgit is beta software. Be sure to read the release notes!!
Install GIT for windows
TortoiseGIT is not completely self contained like TortoiseSVN is.You are required to install the Windows build of GIT before it will operate. Unfortunately msysgit (GIT for windows) appears to be in a perpetual beta-cycle, so watch out. You might want to use something more stable in a mission critical environment.
Here's how you can install GIT on Windows:
- Download and execute an installer for msysgit from their download page
- At the time of this writing, Git-1.7.11-preview20120620.exe was most current
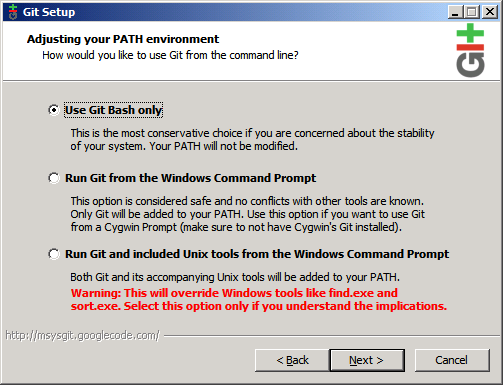
- You will be asked about Adjusting your PATH environment. I picked the most conservative option (Use Git bash only) so it won't interfere with my CYGWIN install
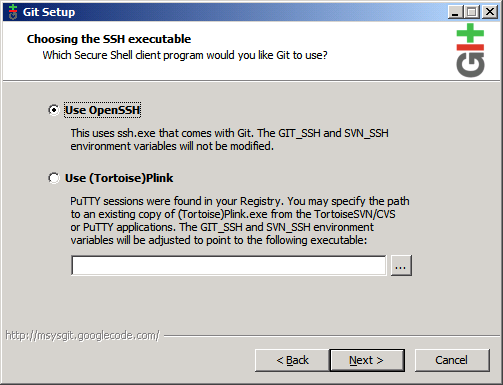
- Next you will be see a screen titled Choosing the SSH executable. I elected to use the Use OpenSSH option. This will use the OpenSSH executable that comes along with the GIT install
- Next you will see a screen asking you about Configuring the line ending conversions. I picked the option to Checkout as-is, commit Unix-style line endings. This works best for me since I want the repository to have consistent line endings.

Install TortoiseGIT
With GIT installed, you can now install TortoiseGIT:
- Download an appropriate installer from the TortoiseGIT Download Page
- There are both 32bit and 64bit versions available
- Start the installer
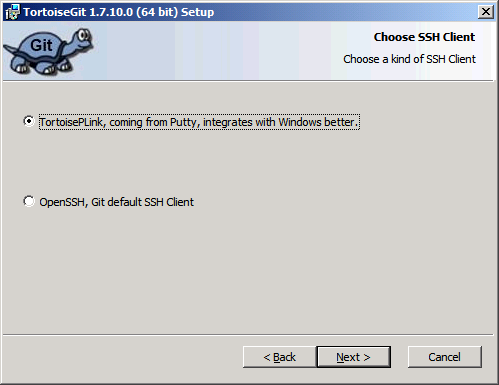
- There will be a screen which allows you to Choose a kind of SSH Client. I picked TortoisePlink (Default option)
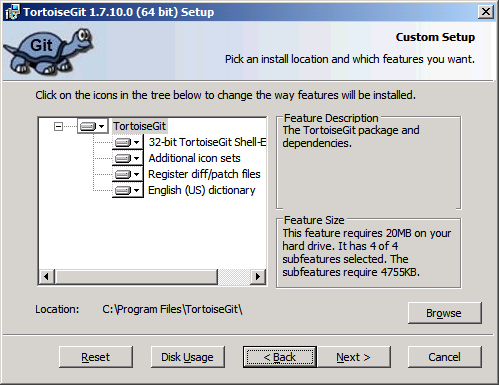
- Next there will be a screen asking you to Pick an install location and which features you want. I left this as default
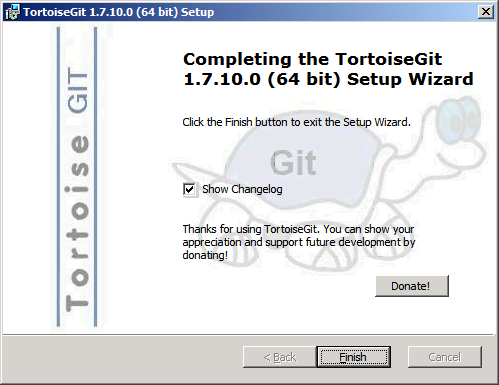
- The next screens will let you start the installation and click 'Finish' at the end
Use TortoiseGIT to Clone a repository
In the previous article I showed how you can use the CLI to clone and push from a remote GIT repository (Look at the bottom of the page). With TortoiseGIT you can do the same thing, but from the comfort of a GUI:
Note: For the purposes of this article I am using a sample repository that I setup in GIT Article #1
- Create a folder where you want your GIT repositories to live. I have created one named C:\Source\Test Repos
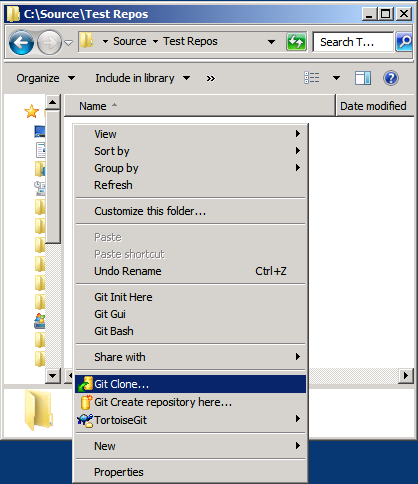
- In an explorer window, Right-click and select Git Clone...
- The Git Clone window should show up. Enter in the URL to the GIT Repository in a format like this (for ssh):
-
username@server:/path/to/repo.git
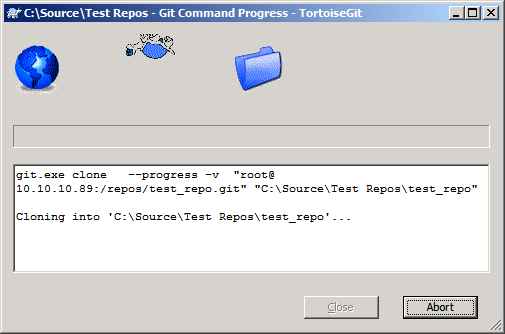
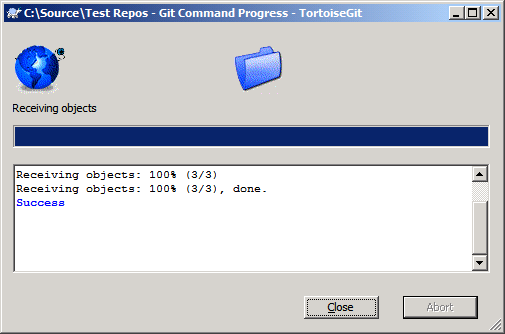
- After clicking the OK button you should see the Git Command Progress window
- If this is the first time through and you have selected TortoisePlink you will see a dialog box titled PuTTy Security Alert indicating that The server's host key is not cached in the registry. You have no guarantee that the server is the computer you think it is... it continues and allows you to confirm or deny a connection to the host.
Be sure to say Yes only if you know you can trust the server. I know I can trust mine- I set it up. :)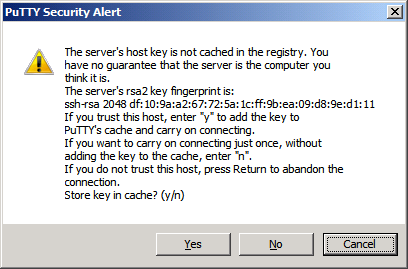
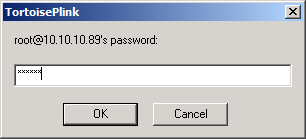
- If you don't have SSH Key Authentication setup, you will be prompted for the User's password (assuming the server is set to allow password authentication)
- Finally, you should see a dialog indicating a successful clone
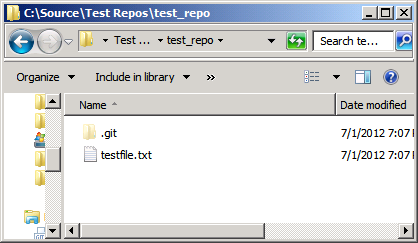
- At this point you can look in the Windows Explorer Window and see the repository and corresponding files
Use TortoiseGIT to commit a file to the Origin repository
This wouldn't be too useful if you could not edit the files and push them back to the origin repository. Fortunately, TortoiseGIT Makes it relatively simple to commit changes to both your local branch / working copy AND the origin:
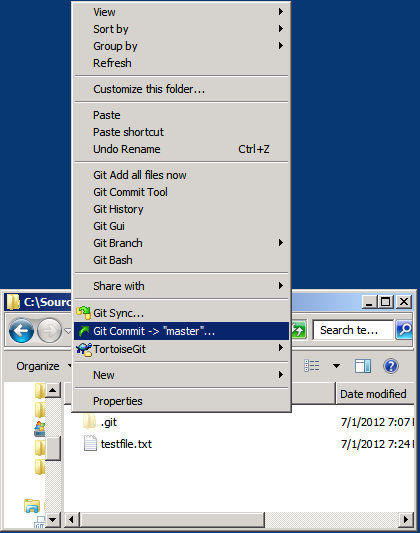
- Open one of the files that came from the clone or add a new file
- Right click in the explorer window and select Git Commit -> "master". This will commit the change to your local working copy
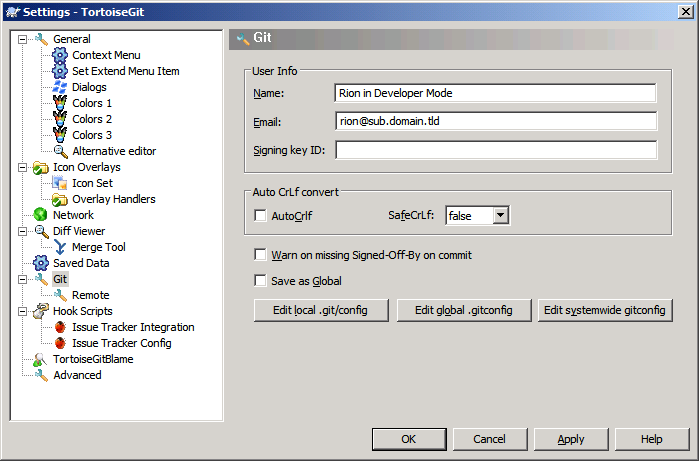
- If this is the first time you have used TortoiseGIT to commit you will be prompted to ente your user information
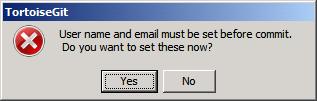
- After entering your details, press the OK button to continue on with the commit process
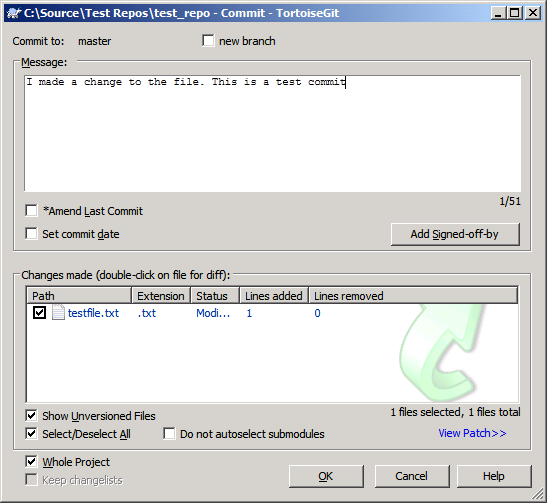
- You should see the Commit window. Enter a Message and click the OK button
- Then you'll see the familiar Git Command Progress window indicate a Success. This happens very quickly, since you are committing to your Local Branch / Working copy.
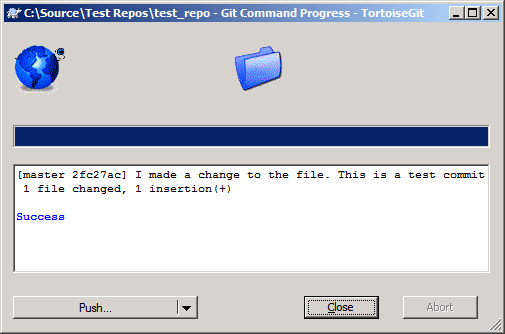
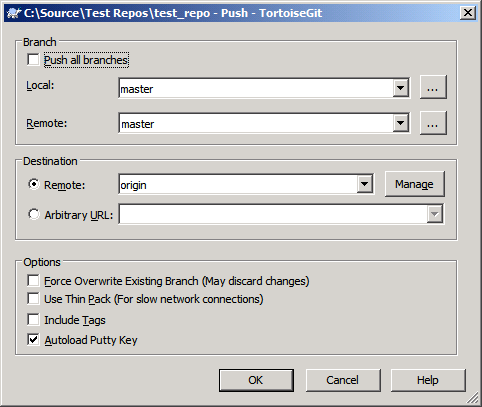
- Click the Push... button on to take you to a screen which lets you pick how you want to 'push' your code changes up to the origin repository. Since I'm new to this and don't have any branches, I just leave the screen at its default settings. I'll get more daring as I get more familiar with GIT
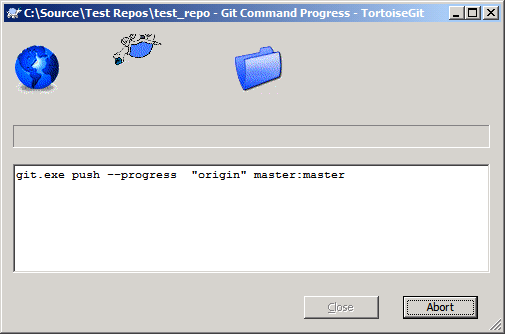
- Again you will see the Git Command progress window. This time it may stay up for awhile longer since it is performing a remote operation
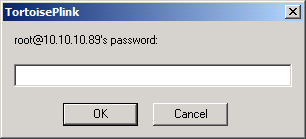
- If you don't have SSH Key Authentication setup with the server that hosts the remote repository, you will be prompted to enter your password
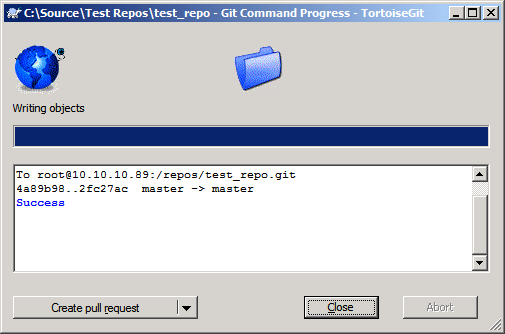
- Once the operation has completed, you should see that the Git Command Progress dialog shows a Success message
Thoughts
- TortoiseGIT is fairly straightforward once you understand how GIT works. Play around with it and see what else you can do.
- It is a little unfortunate that TortoiseGIT isn't as 'stand-alone' as TortoiseSVN, but I'll keep using it until I find a better option